I meant to write this tutorial last year, but got distracted. Not a shock. Oooohhh look something shiny. ;)
Items I used:
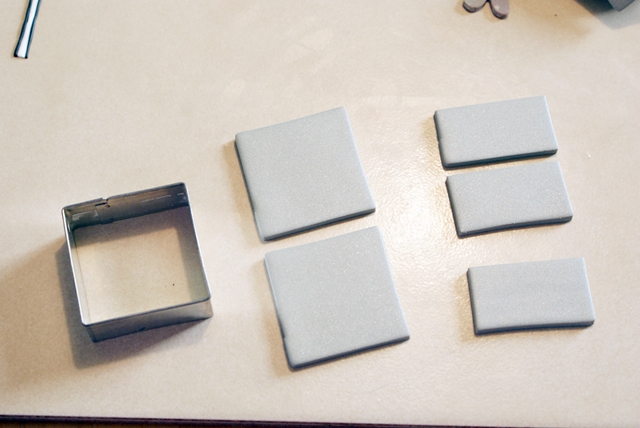
Square Cookie Cutter
Letter Stamps
Stamp Pad (I used black)
Polymer Clay in desired color.
First condition your clay (smoosh and warm it up) and then roll out your clay to the desired thickness. I use my pasta machine to do this. If you do not have one a brayer tool works great.
Then cut out a square with the cookie cutter. I then cut the squares in 1/2. You could also cut the rectangles by just cutting along a straight edge with an exacto knife.
I then rounded the edges a bit with my fingers.
And added a small hole to the one end.
Then I used my mini letter stamps and the black stamp pad to stamp sayings into the clay.
The sayings are endless. :)
You can also add some embellishments. Then bake them following the instructions on the polymer clay packaging.
I turned one into a necklace by adding a pearl accent and chain.
One of my customers (
Little Bow Peep Boutique) uses them on her bows.
You could also add them to a
photo frame with your favorite soldier's photo inside, key chain or scrapbook.
Linking to these parties,
here.


s.JPG)


s.JPG)
s.JPG)
s.JPG)
s.JPG)
s.JPG)


s.JPG)
s.JPG)


s.JPG)

s.JPG)
+dog+tag+tutorial+small.JPG)


s.JPG)
s.JPG)
s.JPG)

s.JPG)
